I AM NOT an artist, but you don't have to be to enjoy painting. Most of the work I have done was just so I could hang something pretty in my house. With that in mind I thought we would become instant artists today with an uber easy abstract painting that can be done in a couple of hours with minimum materials.
Let's look at them first so you have an idea of what we're aiming for...
 |
| #1 This one is on a large canvas,40" x 30". |
 |
| #2 Did this one for my mom's mantle. |
 |
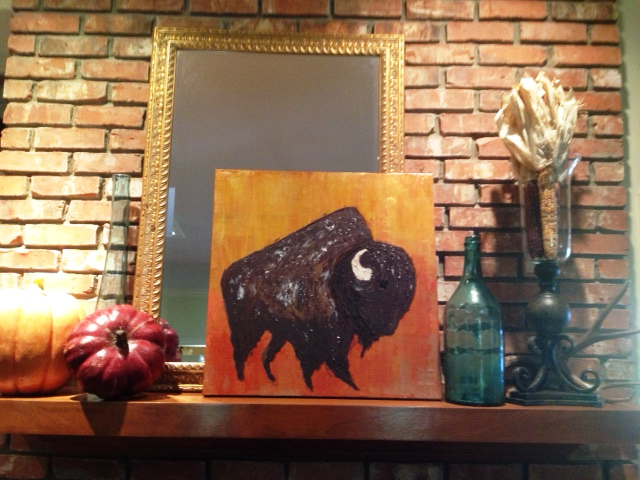
| #3 I put a buffalo on this one, but wanted you to see it with just the background colors. |
OK, let's get started!
You will need:
1 cheap sponge brush **when buying supplies, check Hobby Lobby's
1 spackle spreader sale page. They put art stuff on sale every
acrylic paint (artist or craft) week. Don't forget your 40% off coupon.
Liquitex glazing medium
a stretched canvas

paper plates
Step 1: Cover your canvas with Gesso. I like to put it on thickly and let the brush (sponge brush that is) strokes show. Think about which way your painting is going to hang or sit on the mantle. This will help you know if your Gesso strokes should be applied vertically or horizontally over your canvas. ***If you choose to skip this step, just apply a thicker layer of paint in the next step.
Step 2: After the Gesso is dry, squirt out your paint colors on a paper plate. Use the sponge brush to apply them to the canvas. Don't forget the sides of the canvas.
**In pic #1 I first covered the canvas in brown so that I could wipe away
some of the final color around the edges to reveal the brown layer.
After letting the brown dry, I painted the top a medium shade of
yellow and the bottom a medium shade of blue. They did not overlap
in the middle.
**In pic #2 I used several shades of brown and mixed them on the canvas
as I applied them keeping the darker brown around the outside and the
lighter browns in the middle. Don't completely blend your paint. Let
dry.
**In pic #3 I used four colors (yellow, orange, red, and brown) and
blended them as I applied them to the canvas. If I had not been adding
a buffalo, I would have kept each color more distinct. Let dry.
(James didn't know I was taping. He was enjoying his
favorite pastime, eBay.)
Step 3: Now the fun part - glazing!! Glazing adds translucent colors on top of the background
colors you have already applied. So on top of a medium blue you would want to glaze on a
lighter blue and then a darker blue. You can also glaze on a metallic color or a contrasting
color.
Put globs of the colors you are going to use on a new paper plate. Mix in twice the amount
of glazing medium. (The stronger you want the glaze, the less glazing medium you use.)
Now, using your spackle applicator, just spread the glaze where ever you want it. If you
work wet glaze into wet glaze they will get very blended. If you want greater contrast, let
one layer of glazes dry before applying another.
Here are the finished products...
 |
| Wet glaze into wet glaze using complimentary metallic colors. |
 |
| After letting glazes dry, I added a lightly diluted glaze of a contrasting color. |
There a lots of examples of this type of project on Pinterest. I pinned several to my art board so you could get some ideas and I'm sure they give much better tutorials than I.
I hope you'll give this a try. If you do, shoot me a picture!
Love ya'll,
Shelli
No comments:
Post a Comment